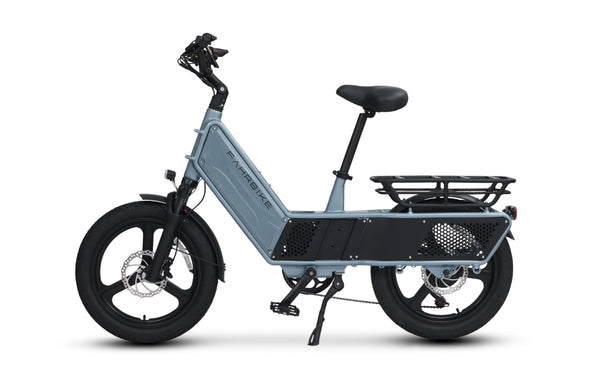
Fat tire bikes are designed to handle various terrains, from rocky mountains to sandy beaches. However, one crucial factor that can affect the performance of your bike is tire pressure. Proper tire pressure not only ensures a smooth ride but also prevents flat tires and improves the overall longevity of your bike. In this article, we’ll discuss some easy steps to regulate the tire pressure on your fat tire bike.

Step 1: Check the Recommended Tire Pressure
The first step in regulating your tire pressure is to check the recommended tire pressure for your bike. The ideal tire pressure will vary depending on the type of terrain you’re riding on, your weight, and the weight of any gear you may be carrying. You can find the recommended tire pressure listed on the sidewall of your bike’s tires or in the owner’s manual.
Step 2: Gather the Necessary Tools
Once you’ve determined the recommended tire pressure, you’ll need to gather the necessary tools to regulate your tire pressure. You’ll need a tire gauge, which can be purchased at any bike shop or online. You may also want to consider investing in a pump with a pressure gauge, as this will make it easier to pump your tires to the desired pressure.
Step 3: Release Air if Necessary
If your tires are overinflated, you’ll need to release some air to reach the recommended tire pressure. To release air, simply press down on the valve stem with your finger or the back of a pencil. You should hear a hissing sound as the air is released. Be sure to release air in small increments and check the tire pressure frequently to avoid letting out too much air.
When To Consider Letting Out Air On The Trail
The condition of your terrain might change as you ride, so you must pay attention to your tires and know when pressure needs to be increased or reduced. You might have to let out air if:
1. You're slipping on the snowy trail and losing balance.
2. You sense your back wheel slipping in slushy snow when riding (especially as you are climbing a hill).
3. You are only just penetrating a surface, such as a snow crust, or leaving a little rut.
4. Every tiny hole and bump in the trail causes your bike to bounce.
You might also want to run a little more air into your tire when;
1. It seems as though you need to pedal to maintain momentum while going downhill.
2. The trails are in excellent condition and firm, especially when there hasn't been any fresh snow for four to five days, and grooming.
3. Add air immediately if when you turn or encounter a bump, you can feel your tire folding or buckle, or else you could get a pinch flat.
Step 4: Inflate the Tires
If your tires are underinflated, you’ll need to inflate them to reach the recommended tire pressure. To do this, attach your pump to the valve stem and pump until you reach the desired pressure. You can use your tire gauge to check the pressure as you inflate the tire. Be sure to inflate both tires to the same pressure.

Step 5: Check the Tire Pressure
After you’ve inflated your tires to the recommended pressure, use your tire gauge to check the pressure. If the pressure is too low or too high, repeat steps 3 and 4 until you reach the correct pressure. It’s important to check your tire pressure before every ride to ensure that your bike is performing at its best.
Step 6: Be Mindful of the Weather
It’s important to keep in mind that the weather can affect tire pressure. As temperatures drop, tire pressure can decrease. Therefore, it’s important to check your tire pressure more frequently during colder months. Similarly, during hotter months, tire pressure can increase, so you’ll need to release air more frequently to maintain the recommended pressure.
Step 7: Consider Investing in Tubeless Tires
Tubeless tires are becoming increasingly popular for fat tire bikes, as they offer several benefits over traditional tires. Tubeless tires are less prone to punctures and flats, as there is no inner tube to be punctured. They also offer a smoother ride and better traction, as the tire can be run at lower pressures without the risk of pinch flats. If you’re considering upgrading your tires, be sure to consult a bike shop or do thorough research to ensure that tubeless tires are compatible with your bike.
Step 8: Take Care of Your Tires
In addition to regulating tire pressure, it’s important to take care of your tires to ensure their longevity. Avoid riding on sharp or rocky terrain, as this can cause punctures or tears in the tire. Similarly, avoid overinflating your tires, as this can cause damage to the tire walls. Always check your tires before every ride to ensure that they’re in good condition.
By following these simple steps, you can easily regulate the tire pressure on your fat tire bike and ensure that your bike is performing at its best. Remember to check your tire pressure frequently and take care of your tires to ensure that they last as long as possible. With proper maintenance, your fat tire bike will provide you with many enjoyable rides on various terrains for years to come.